| Home | As it was page | Disassembly 1 | Disassembly 2 | Body Work 1 | Body Work 2 | Misc | 2011 Progress | Back at it! | 2015 | 2016, 2017, 2018, 2019, 2020 |
On the last page I showed you what the car looked like before I started any restoration. It is important to assess the project and start to make plans before turning the first wrench. Anyway that is the way you want and should tackle a restoration, other times you just jump right in and go.
|
|
|
|
|
|
|
|
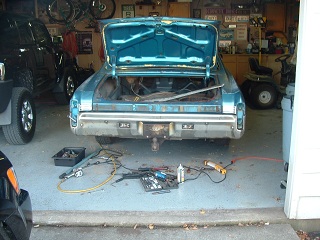
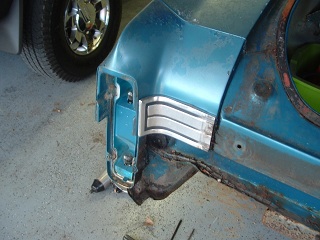
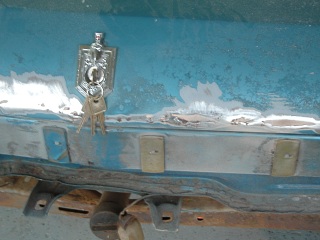
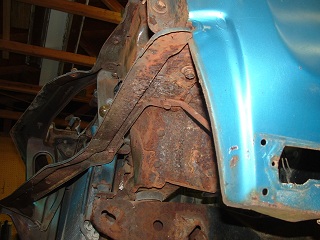
As the pictures show I started the body disassembly in the back. If you remember from the pictures on the previous page there is aluminum trim along the bottom of the quarter panels, running to the front of the car under the doors, rocker panels and the leading edge of the front fenders. Also the wheel well trim has been removed. After 35 years now of service, (1972 to 2007), there was a ton of rust and stubborn fasteners, an impact wrench, breaker bars, and drums of PB Blaster still resulted in busted knuckles and bad words.
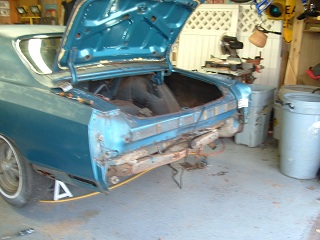
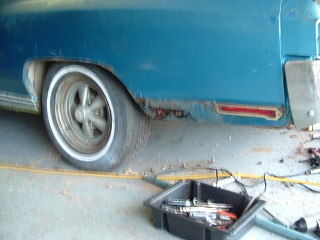
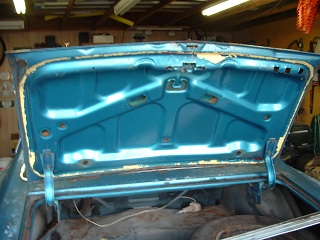
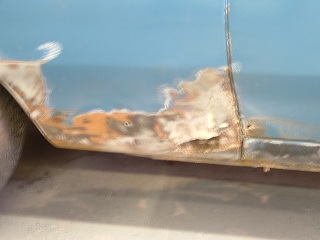
You now are seeing some of the rust and rot I found in the rear quarters. This comes from mud and water being trapped under the aluminum trim and just eating and eating away at the sheet metal. The more it rusts, the more it eats, the more it rusts.At this point I have decided to replace the rear quarter skins on both sides of the car. You can see from the pictures that there is a significant amount of rust out back, even the trailing edge of trunk lid is peppered with rust holes. It was apparent that the trunk lid had been replaced at one time because the underside of the lid was yellow under the blue paint.
|
|
|
|
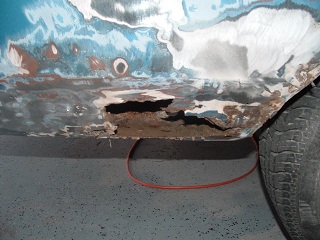
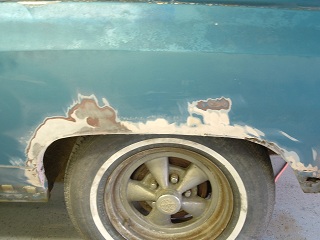
After some grinding on the paint I found all kinds of Bondo, additional rot, patches and more Bondo. The passenger side rear quarter panel was much worse than the driver's side. I guess it is because this side is closer to the shoulder of the road and more debris is kicked up in those areas.
|
|
|
|
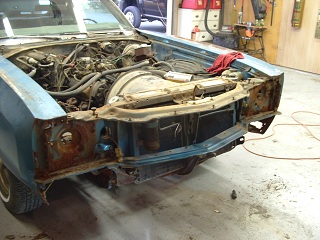
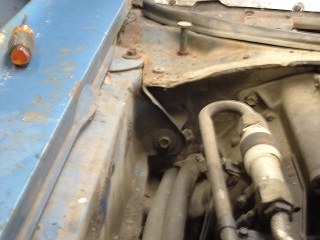
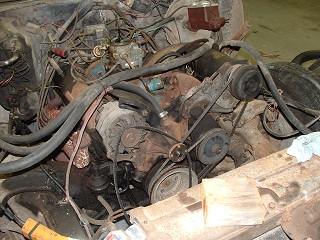
Disassembly now starts at the front end of the car, the hood is off, the lights, grille, bumper, head lamp extensions and you can see the significant surface rust in the fender wells, bumper valance, and frame horns. The fenders are off for the first time, (I am guessing), since it was built. (more on the build date later).
|
|
|
|
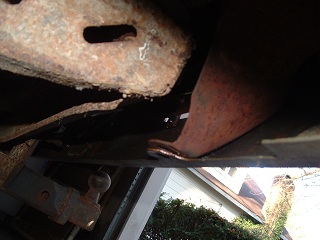
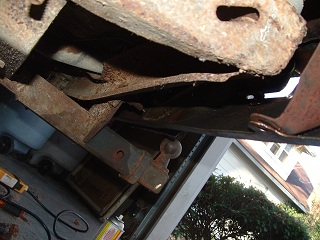
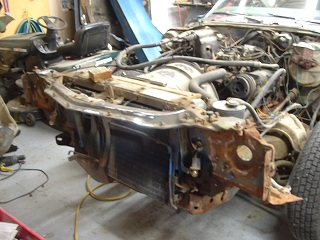
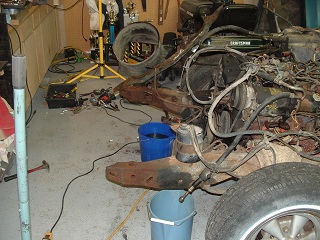
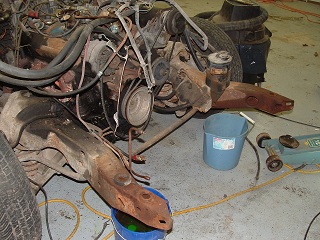
Now you can see some of the dirt, oil, mud, rocks, rust, you name it you can find it all over the engine, suspension and frame of the car. I hadn't really thought too much about taking the body off of the frame, you don't see much after the body starts even when you open the hood, but I really couldn't get the frame clean enough far back enough, you'll see what I mean.
|
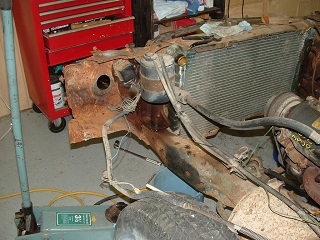
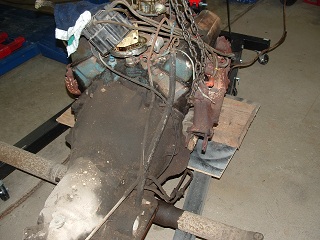
This will be the last picture for this page and as you can see the engine is out of the car, or at least off the frame. At this point I have to thank Brad Anderson of Louisville, Illinois. Brad and I have been very close friends for the last 40 years he has a great shop at his home with a 4 post lift. We took the car up to his shop and pulled the engine, it made it a lot easier than trying to tackle this part of the project rather than laying on the floor.
WEB DESIGN BY
The Genthe Group
![]()
330 East 6th St.
Flora, Illinois 62839
618 676 7732
| Home | As it was page | Disassembly 1 | Disassembly 2 | Body Work 1 | Body Work 2 | Misc | 2011 Progress | Back at it! | 2015 | 2016, 2017, 2018, 2019, 2020 |
| Clay County Cruisers Car Club |
| Eastwood Restoration Supplies |
| Goodmark Industries |
| Hemmings Motor News |
| Year One |